In order to make the modeling easier, the model is textual, but the result is a mixture of graph and text. The model has the following elements:
Before you start modeling
Please read Quick start from the beginning to ‘MODELING STARTS FROM HERE’, then press the link on 2.4. ‘Start building your test steps by clicking “Add Step.”’
Add requirements
When you have created a feature and click on it, Harmony goes to the Design state. You can see the Requirements and the Test design windows.

You can add the requirements first. The requirements are simple text in any language. Each requirement can be extended by an id such R1, R2, etc. to map them with the labels in the model.
Start modeling
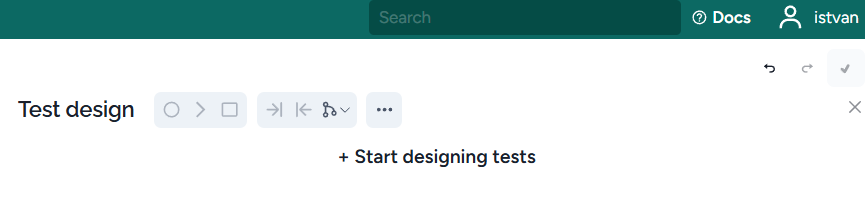
The first step is to click on ‘Start designing tests’:
The result is the first empty step:

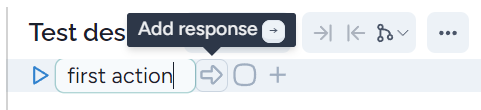
Steps are considered as nodes in the model graph. Model steps are created as simple text where all steps start with an action. You can just fill the filled the empty field ‘add some action’:

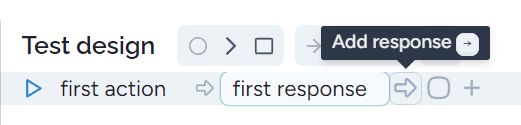
When the action is ready, you can press the right arrow to start a response or can also select the right arrow icon:
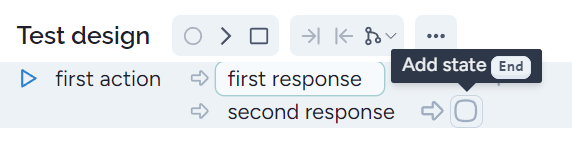
When you finish a response, you can start a second one in the same way:

You can add more response if you want more validations that are not obvious. When all the responses are ready you can add a test state by clicking on the State icon or the end keyboard button:
When the step is ready you can start a new step by pressing Enter or ‘+’:

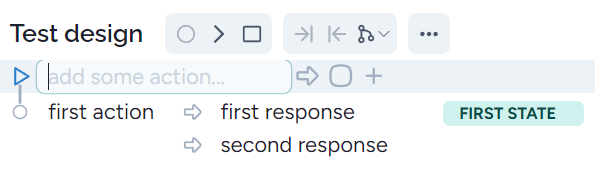
If you click on the beginning of the action, then the new step will be created as a previous step:
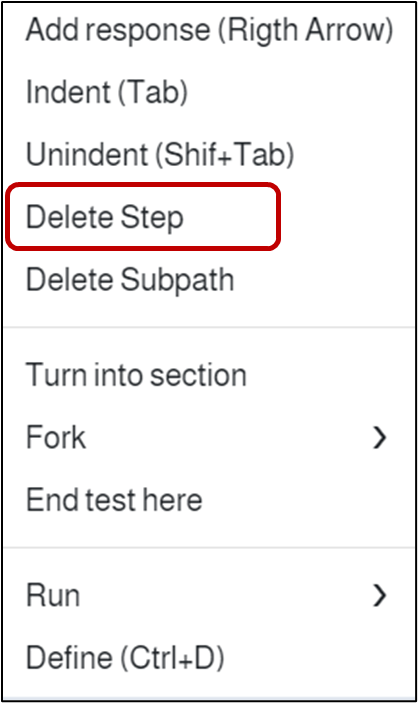
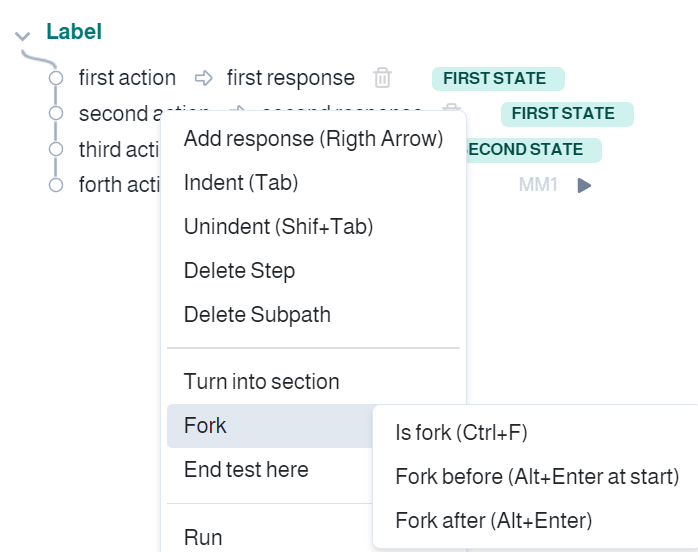
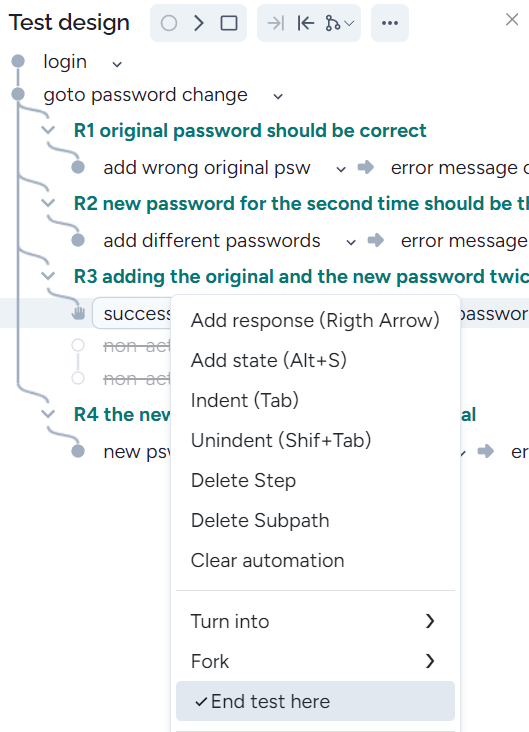
Each element can be modified, by clicking on the element to be modified. Any element can be deleted, by first removing the text, then pressing Del or Backspace. An entire Step can be deleted from the menu (right mouse click at the action) :
Linear sequence
When finishing a step (Step 1), and you press Enter, the subsequent step (Step 2) will be the child of the previous one, and it is placed with the same indentation. Step 2 will be executed right after Step 1. On the left-hand side, the graph consists of two nodes for Step 1 and Step 2, respectively, and an edge connecting the two nodes:

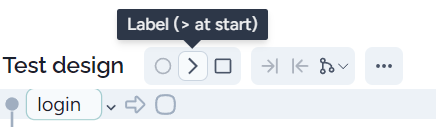
Label
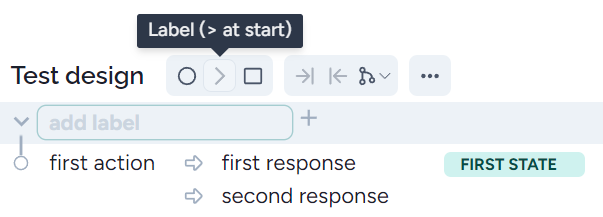
Labels connect requirements with models and test cases. The name of a test is constructed from the labels of the steps. Labels are important for separating a sub-model in a visible way. A label can be constructed by adding an action and entering ‘>’ at a new step or selecting the label icon:
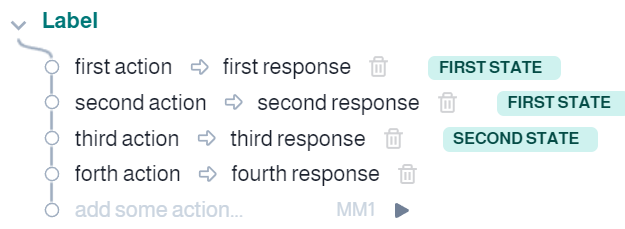
When you finish a label and press Enter, a new step starts with intending the step right:

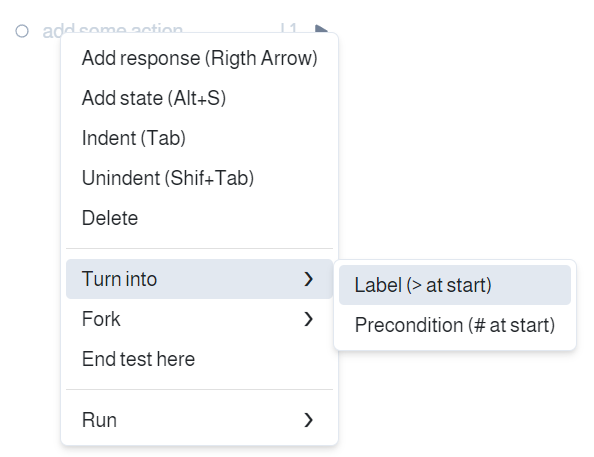
You can also create a label from the menu:
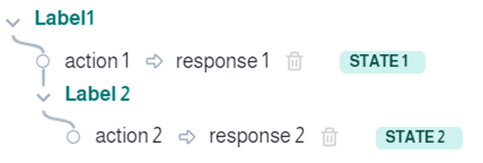
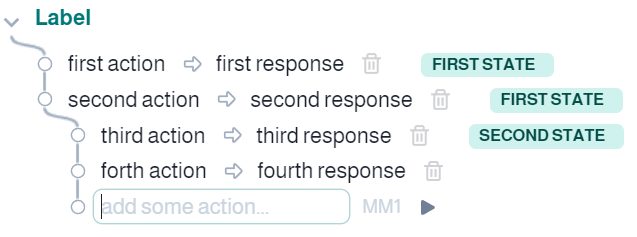
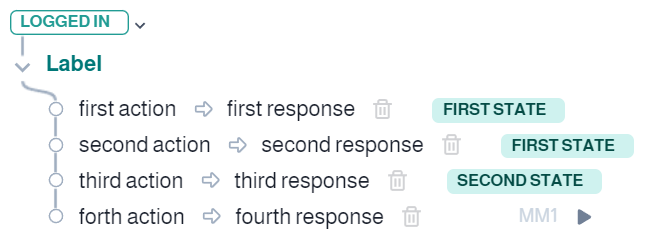
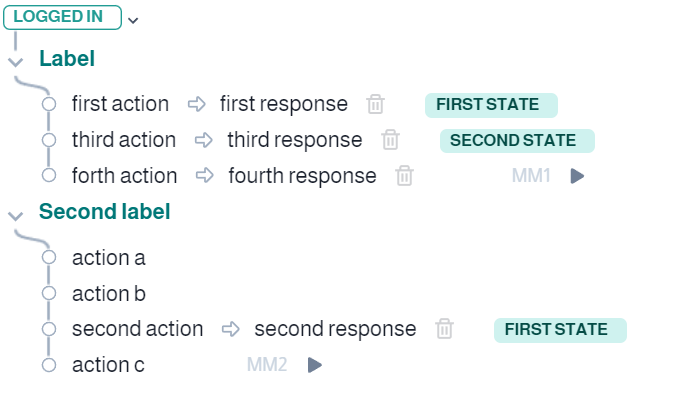
More labels can be included in one test as a single test may cover more requirements. Suppose that a test covers two labels in the following way:
Fork
Let us assume that we want to add a step, but this step cannot be executed right after the previous one. In this case, these two steps will fork and belong to different test cases.
Forking can be made by pressing a keyword shortcut Ctrl + f on the step to fork:
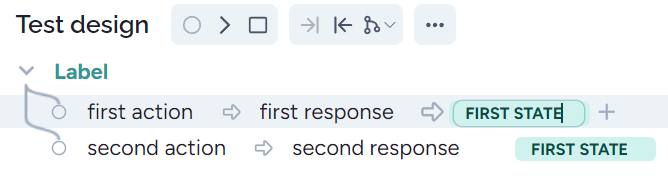
Before forking:

after pressing Ctrl + f

You can see that the edge between the nodes doesn’t exist anymore. However, this is not well understandable. Fortunately, labels help. If you extend the model with a label, then the fork will become understandable. Forks are easier to create by clicking on the fork icon:

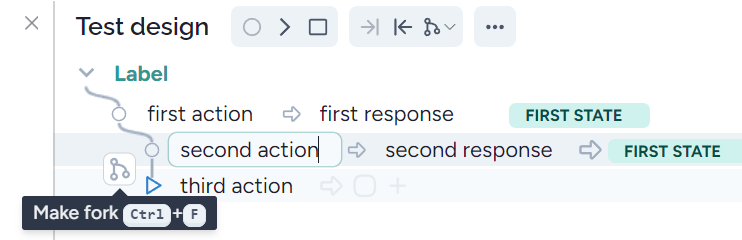
Hovering the mouse over ‘second action’, the fork icon appears:
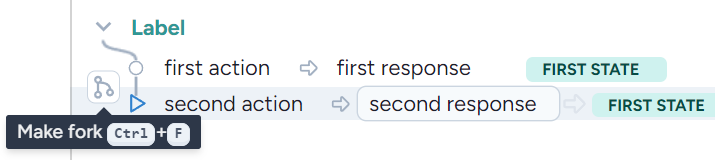
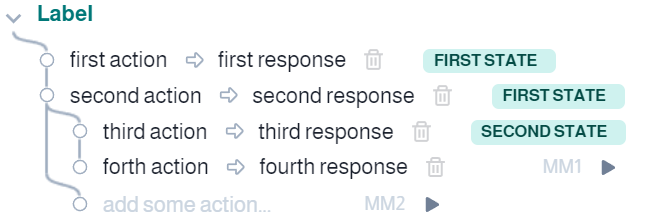
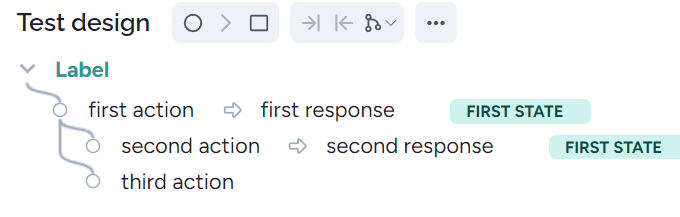
Click on it a fork is inserted from the Label:

You can also remove the fork by using Ctrl + f or using the remove fork icon:

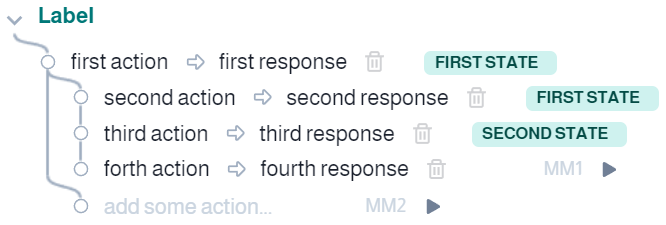
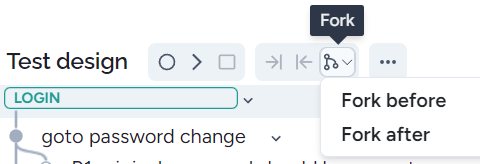
You can fork test steps by applying the menu, by pressing the right mouse button inside ‘second action’:
By selecting ‘Fork after’, the result is a fork starting from ‘second action’:
You can also use the menu clicking on the fork icon:
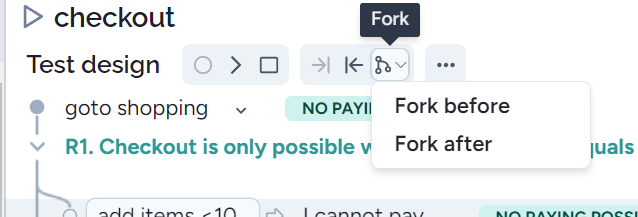
By selecting ‘Fork before’, the fork happens before ‘second action’:
You can also use ‘Alt + Enter’ at the right places (at the beginning or elsewhere) of an action or the fork icon above.
Sometimes removing a fork will not be the exact inverse of forking. Let’s remove a fork from the example when ‘Fork after’ is pressed. Here we should select the new empty action and press Ctrl +f:
However, the graph is not nice. To make it nicer, press Shift + Tab at action ‘third action’:
Now we have the graph, we like it. Anyway, Tab and Shift + Tab are working except to create an unwanted graph appearance.
Join
It can occur that after forking the same steps should be executed for both test cases, i.e., the forked paths will join. Here is a fork:
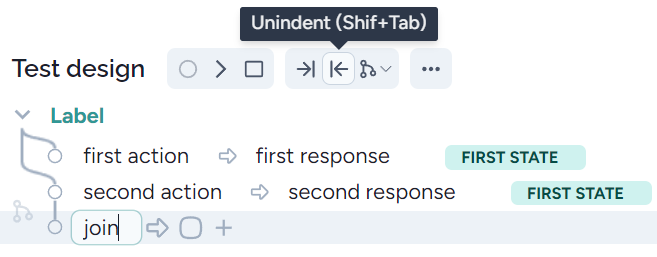
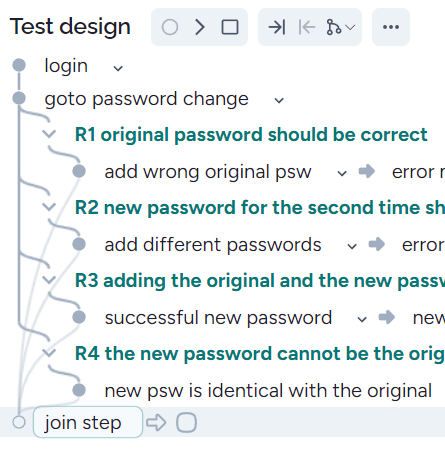
Let’s add a new step ‘join’ after the last step:
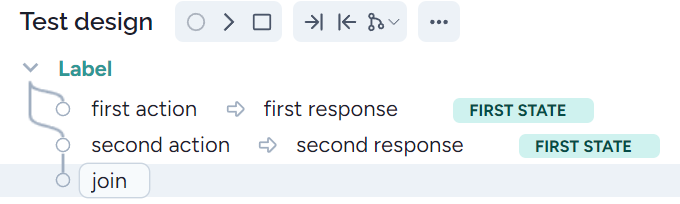
By unindent (pressing Shift + Tab) or using the unindent tab icon for this join step:
You will get the join step:
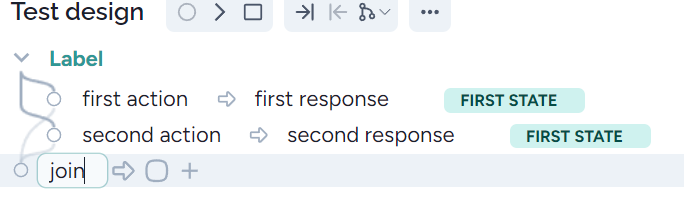
Now we have two test cases: T1: {first action, join}; T2: {second action. join}
Indent, unindent
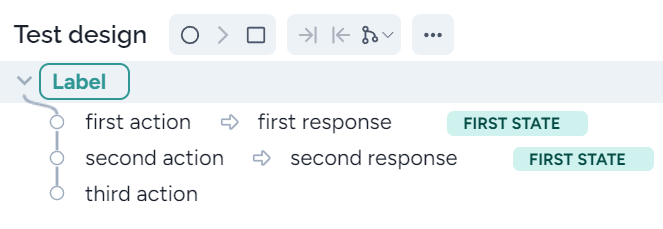
Indent (Tab) can be used with forking. In the following example, we need a fork from the first action:
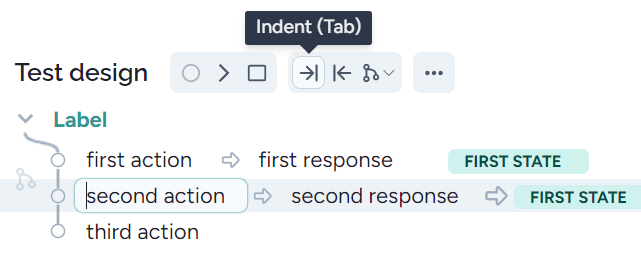
To do this first we should indent the last two steps. This can be done by pressing Tab or selecting the Tab icon:
The next step is to create the fork:
Here is the result:
Unindent is mainly used for creating join steps, see the previous sub-chapter.
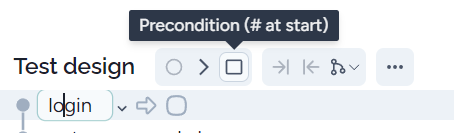
Precondition (initial state)
Each sub-model can start with an initial state. The initial state should be an existing state set in a different model. Here is an example:

After sign up, the software arrived at the ‘REGISTERED’ state
We can use this state as an initial state in another model:

The new state ‘PROJECT OPENED’ can also be used as an initial state elsewhere, thus you can build complex model from simple sub-models.
Note that states should be uniquely determined.
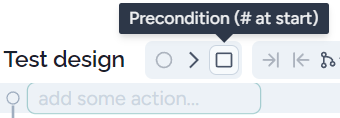
To create an initial state (precondition), let’s create an empty action, then press ‘#’. You can also use the precondition icon:
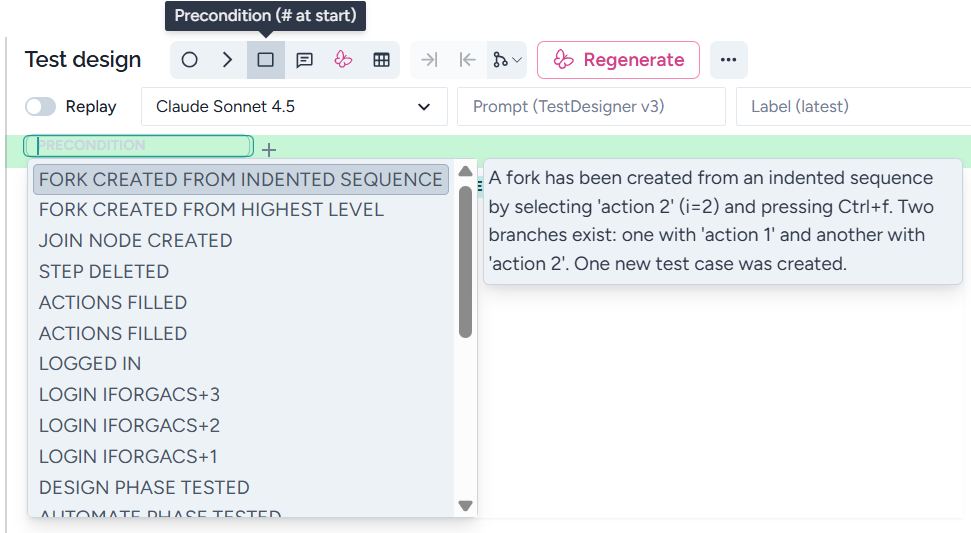
You can select any published state.
As a third option, you can create an initial state from the menu:

or use the related tab next to ‘Test design’:

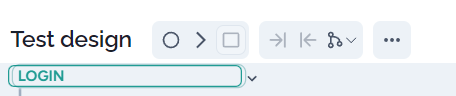
You will see:
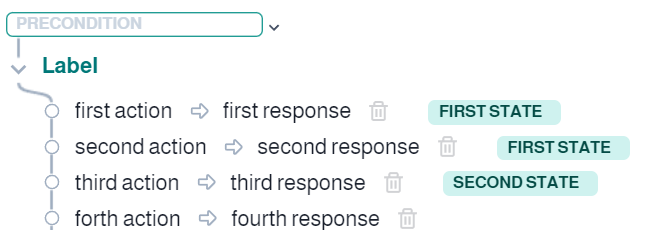
Then write the necessary state you want to reach at this point:
Autocomplete recommendation
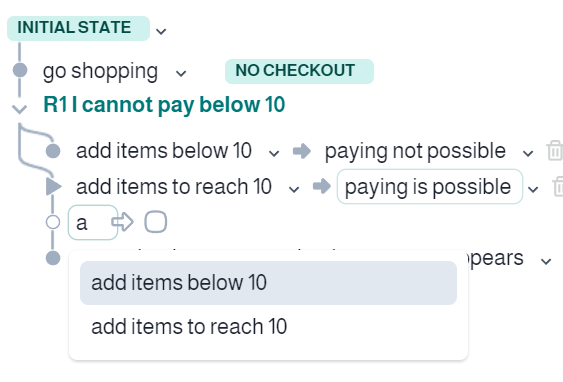
Starting a new action-state item and entering at least one character, Harmony offers the list of the existing elements. You can select any items from the recommendation list:
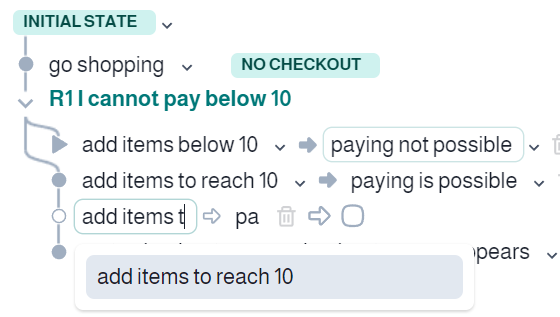
Selecting an item, you can use ↑↓ keyboard keys or your mouse. You can reduce the number of found elements by adding more characters:
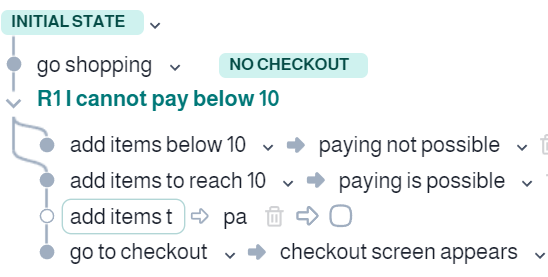
When you press ESC the item will be the written characters:
The matching elements can be anywhere in the action-state item:
Undo, redo
As expected, Ctrl+Y will redo the last action performed. while Ctrl+Z will undo the last action.
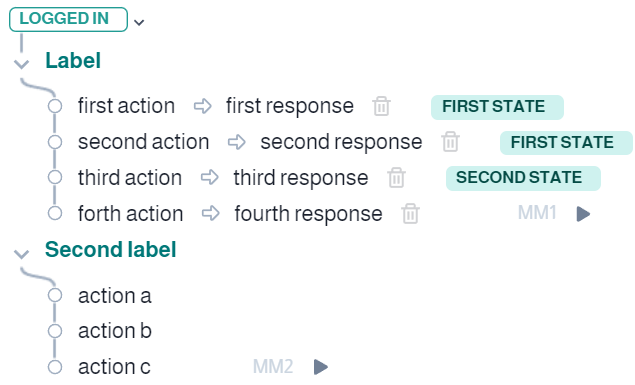
Open and close subgraphs
If you make a large model (we advise is to avoid it), then you may need to see only some parts of it. For example, you only want to see the subgraph below ‘Second label’:
To do this just press the v icon next to ‘Label’:
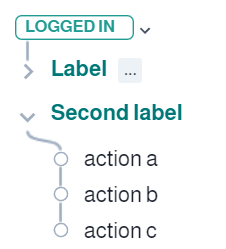
To see the graph belonging to ‘Label’, just press > next to it.
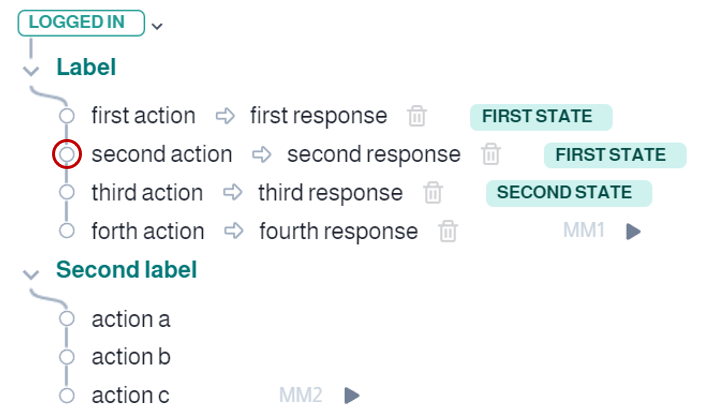
Moving a step to another place
First, select and click on the node, you want to move. Let’s select the second step:
Then move it to below action b:
Sometimes you should use Shift + Tab to align the inserted step.
Shortening test cases - ‘end test here’
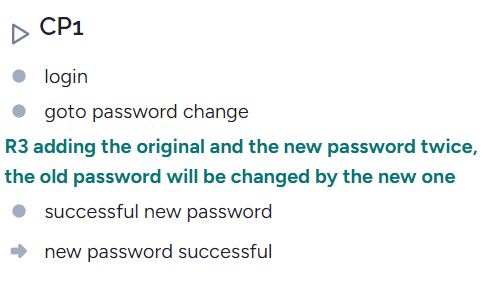
There are cases when we want to stop test cases at a given step. For example, if there is a common join step (node) for more forks:
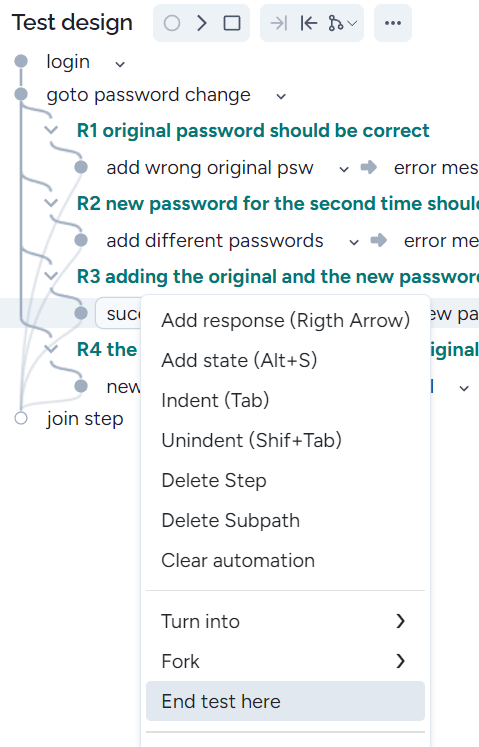
If we want the last step of the third test/fork to be ‘successful new password …’ then we can stop this test by selecting the ‘end test here’ menu items:
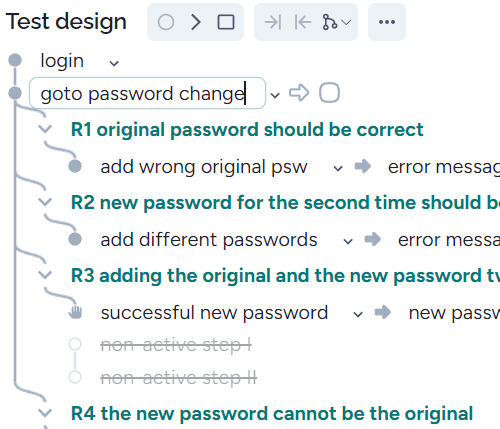
The result will be the following:
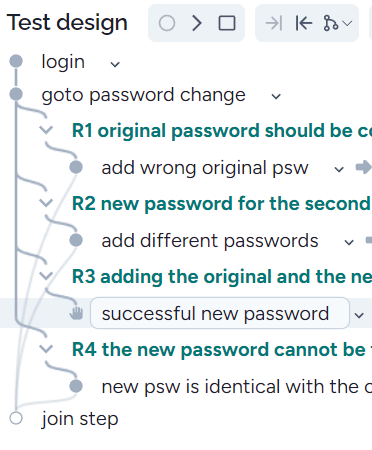
You can see that for the third fork, there is no edge to the ‘join step’ and the related test case doesn’t contain the join step:
If after ending a test path there are steps with no other incoming edges, then these steps will be signed with strikethrough:
Each signed last step can be inverted by selecting the ‘end test here’ again:
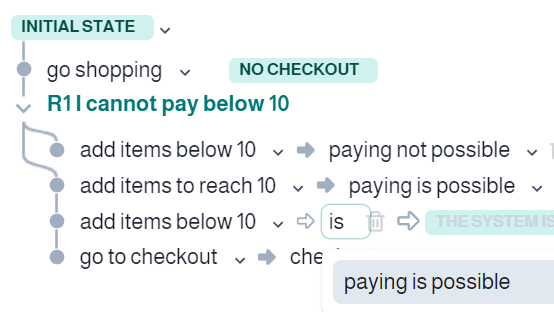
Modifying actions and responses
You can modify an action or response so that all the occurrences will be modified and the low-level model remains the same:
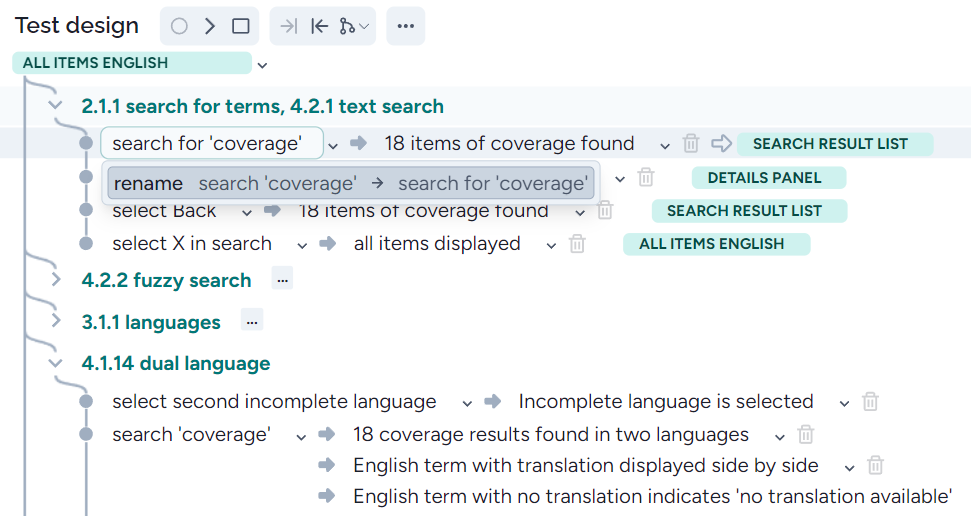
pressing rename search for ‘coverage’ … both actions will be ‘search for ‘coverage’ (see the first and the last actions:
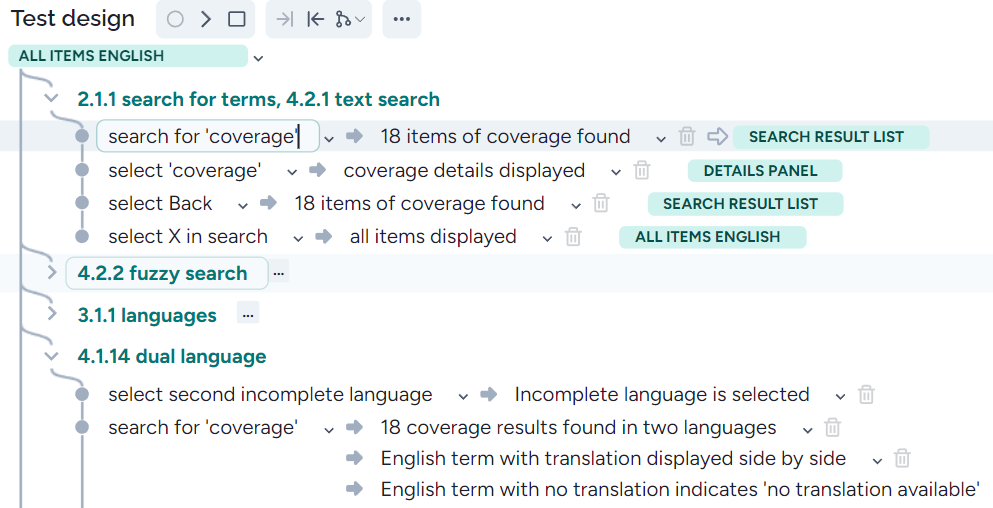
If you want to modify only a single action or response, then after modifying it press ESC:
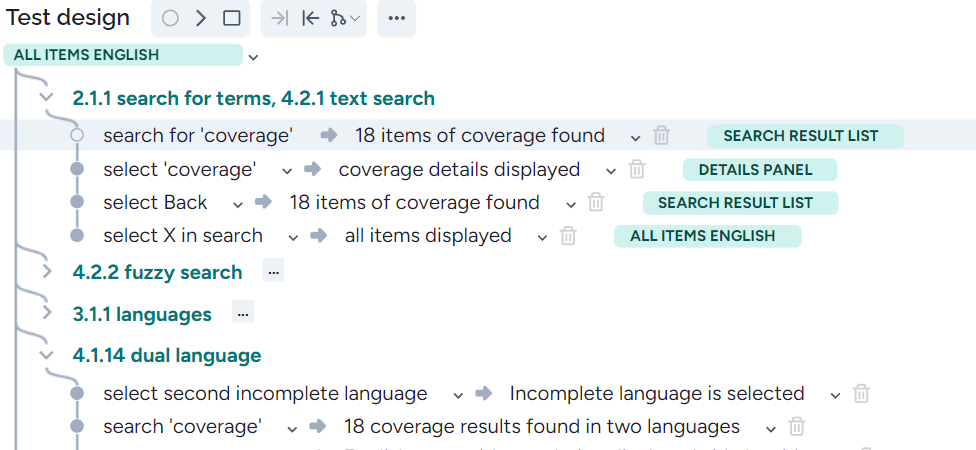
You can see that the modified action search for ‘coverage’ has no low-level steps, you should automate it again.
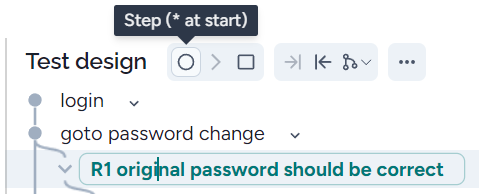
Speeding up modeling - test design main menu
Making labels, preconditions or tabulating some steps made it easy with the test design main menu:

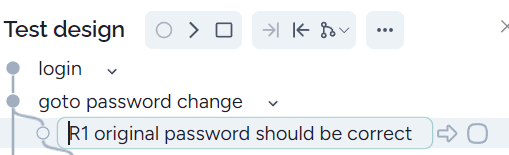
The first icon converts a label to step:
before
after
The second convert a step to a label:
before
after

The third converts a step to an initial state:
before
after
The next two will tabulate right and left, respectively.
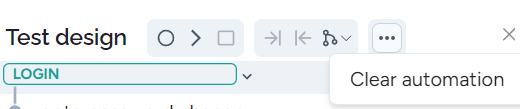
The last one helps forking:
The final command is ‘Clear automation: